DJI Computer Solutions
Software Applications for Microsoft Excel
The most unique, full featured spreadsheet applications on the web. These are not your father's spreadsheets!
The most unique, full featured spreadsheet applications on the web. These are not your father's spreadsheets!
![]() >
>
![]()
Importing data from other file formats can be especially useful for downloading transactions from your bank or credit card company and importing them into Checkbook for Excel or comparing them to transactions you already entered into Checkbook for Excel. The Import function (shown above left) allows you to import data from a number of different file formats or from an earlier version of Checkbook for Excel. Click the tool and select the Import QIF/QFX/OFX option (shown above right) to import data from Quicken® Interchange Format (.QIF) files, Open Financial Exchange (.QFX/.OFX) files, or QuickBooks Bank Statement (QBO) files into a Checkbook Ledger. (Importing from QIF, QFX, OFX or QBO files provides the easiest method for importing data into Checkbook for Excel since it automatically maps the data to the correct fields. While the QFX/OFX file format is newer than the QIF format, the QIF format is actually slightly better and the one we recommend if you have both options available.)
Although you can use this feature to import data from Quicken®, many banks and financial institutions provide the ability to download QIF or QFX/OFX/QBO files, which can then be imported into Checkbook for Excel. This is especially useful for importing downloaded .QIF files from Paypal's online payment service for tracking your Paypal income and expenses. It also makes it eacy to import credit card statement downloads for reconciling your statement or categorizing your credit card spending.
To start the process, click the Import tool then the Import QIF/QFX/OFX tool and follow the directions. The file open dialog box will be displayed. Use it to open the file you want to import. The Import Transaction form will then be displayed with the first record from the Quicken file. You can edit any of the transaction information before importing the record or you can skip the record by using the Navigation buttons to move to the next record. The navigation tools allow you to browse and view any of the records from the Quicken file. You must also select the Ledger where you want the imported transaction entered. Click the Import Record button to import the record that is currently displayed and the next record will automatically display. Just continue this process until you have moved through all the records in the Quicken file, skipping any records you don't want to import.
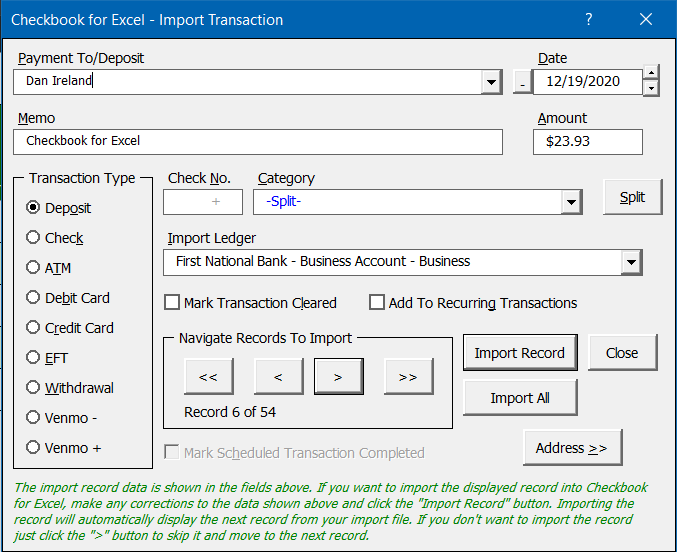
You can import all the records at once by clicking the Import All button. This allows you to edit, delete or move the imported transactions. If you are importing more than 40 or 50 records at one time, the import process can take a minute or more.
Importing Data from a Previous Version
Archiving Checkbook for Excel Data
Visit Checkbook on Facebook
Visit Handicap Manager on Facebook